You might think it is easy to update Windows servers, but apparently that is not always the case. It is easy to simply “check for updates” when you first install a server, and then forget about it.
Which is the wrong thing to do.
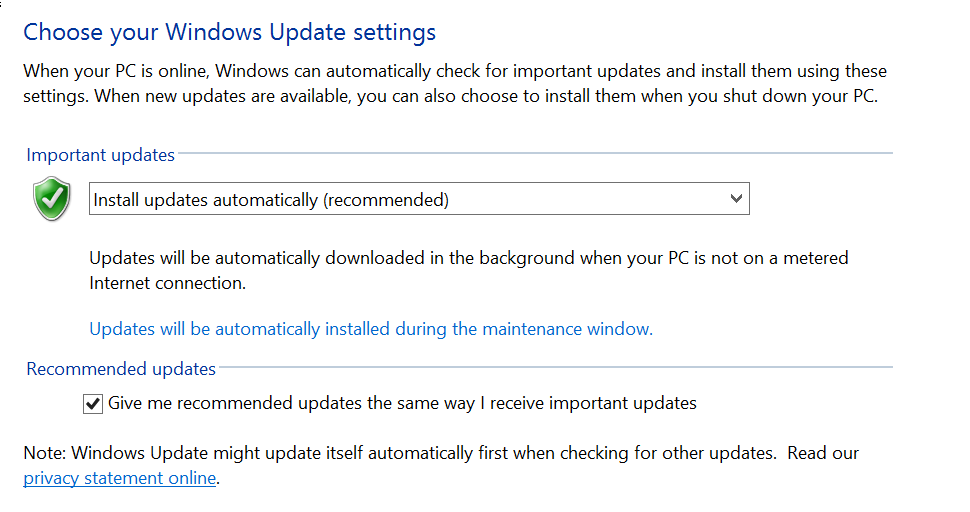
The first thing to do is to make sure you are installing updates automatically :-
It may be that your server will eventually become something important enough that it will be sanctioned for manual patching during monthly maintenance windows; even so you should start with automatic patching and switching to manual patching is part of making the server “live”.
You can also alter the maintenance window, but the default option is usually sensible (03:00 nightly).
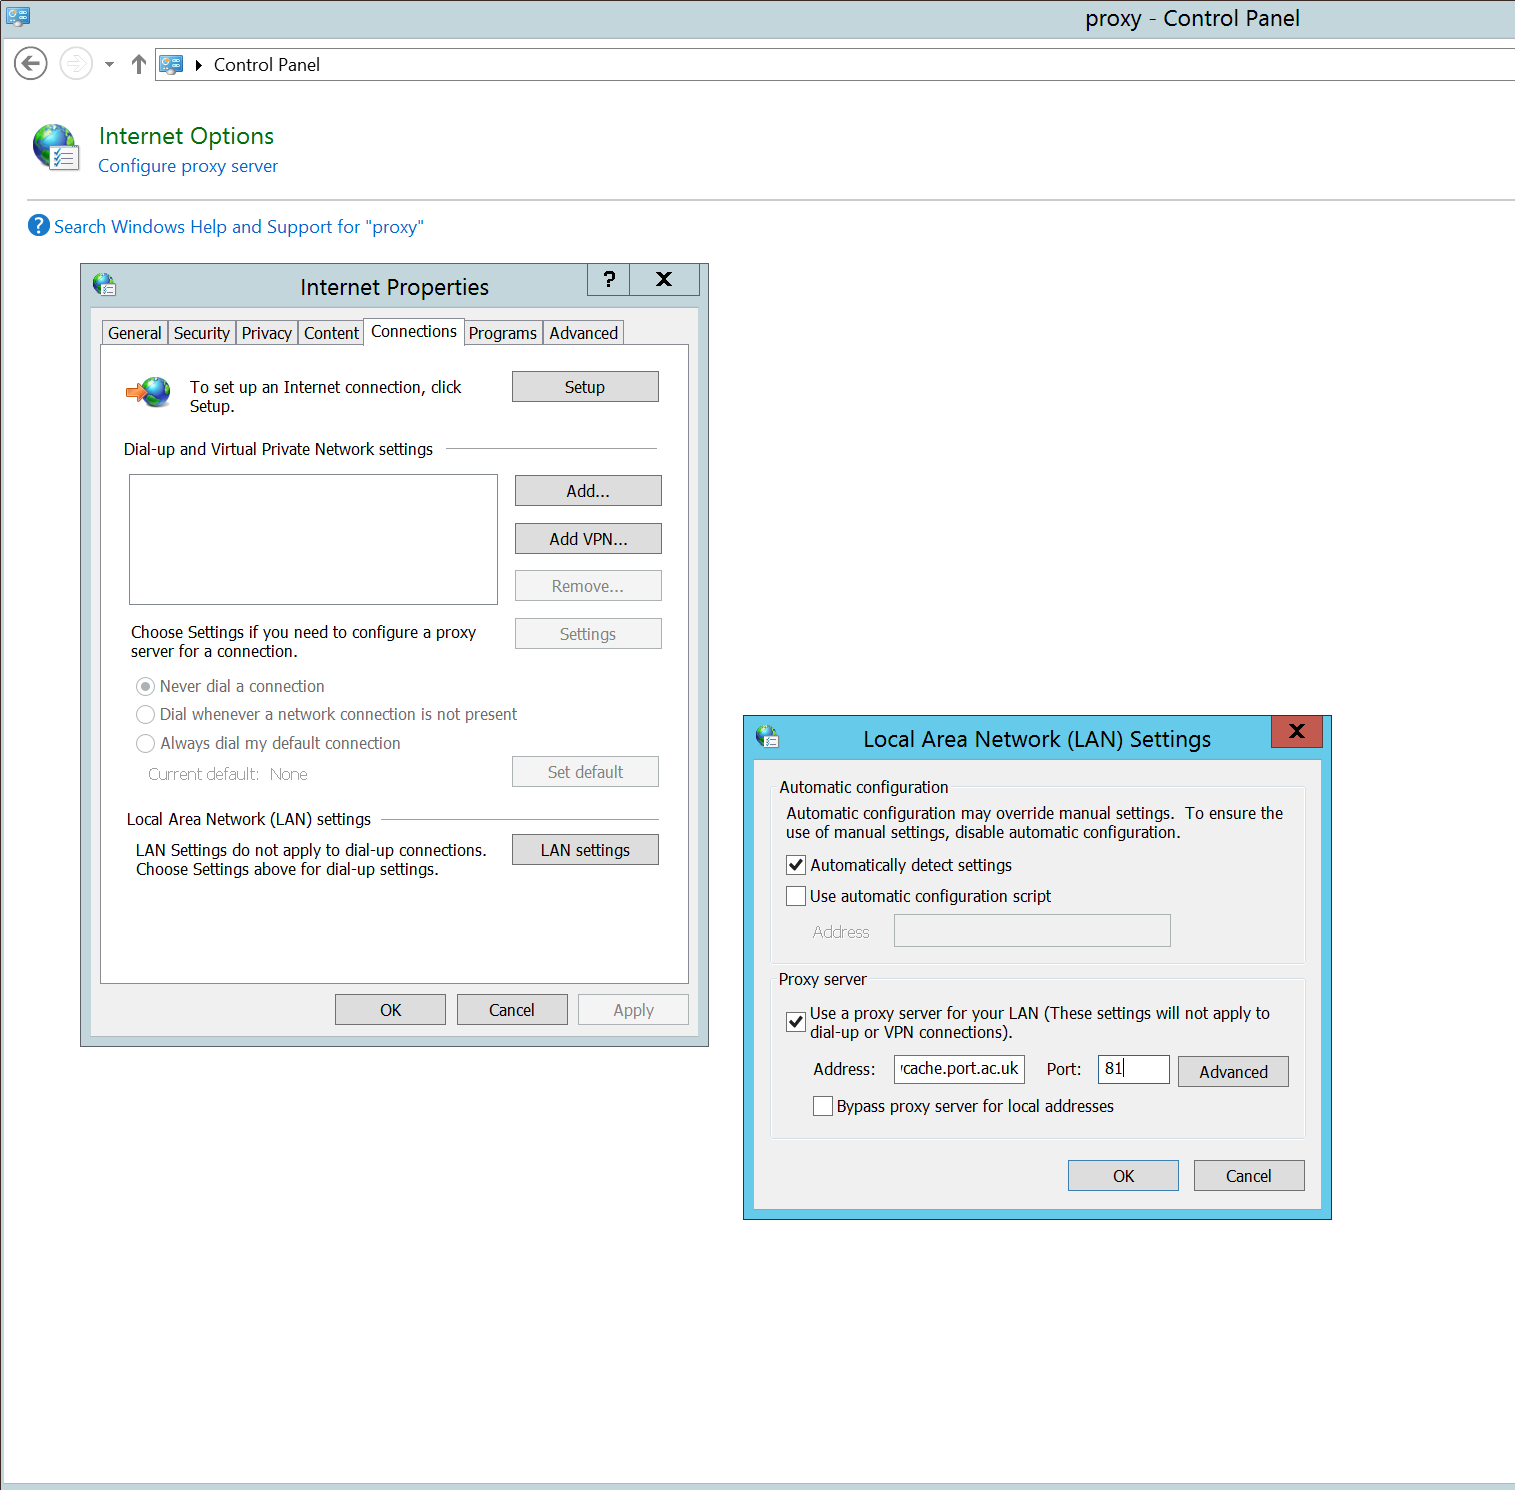
The next step is to configure Windows Update to check for updates to other Microsoft products which seems to require an Internet connection suitable for web browsing. If you are running a server on a server network (and you should be), then this requires the proxy to be configured :-
The address for the proxy server is “wwwcache.port.ac.uk” on port 81 (obviously only if you’re on campus). Once that is configured, you can click on the “Find Out More” link on the Windows Update settings page (this is shown at the bottom). This opens up a web browser that allows you to click on a license acceptance page before changing your server’s settings (and if you’re not somewhat taken aback by a web page being able to change your server settings, you’re not thinking “security first”).
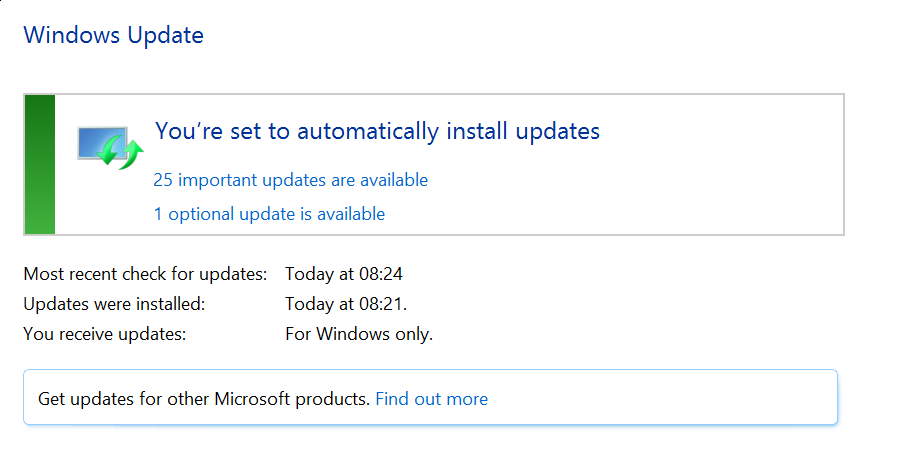
The final step is really a warning about what happens when adding a role and/or features to Windows; there are usually updates to apply after that has happened. Below is a screenshot of the result of running “check for updates” after adding a role to a server :-
Before the new role was added, the same screen showed that it was fully patched!
There is a great deal more to updating Windows servers than this, but this should be sufficient to get started in a less than totally insecure way.


